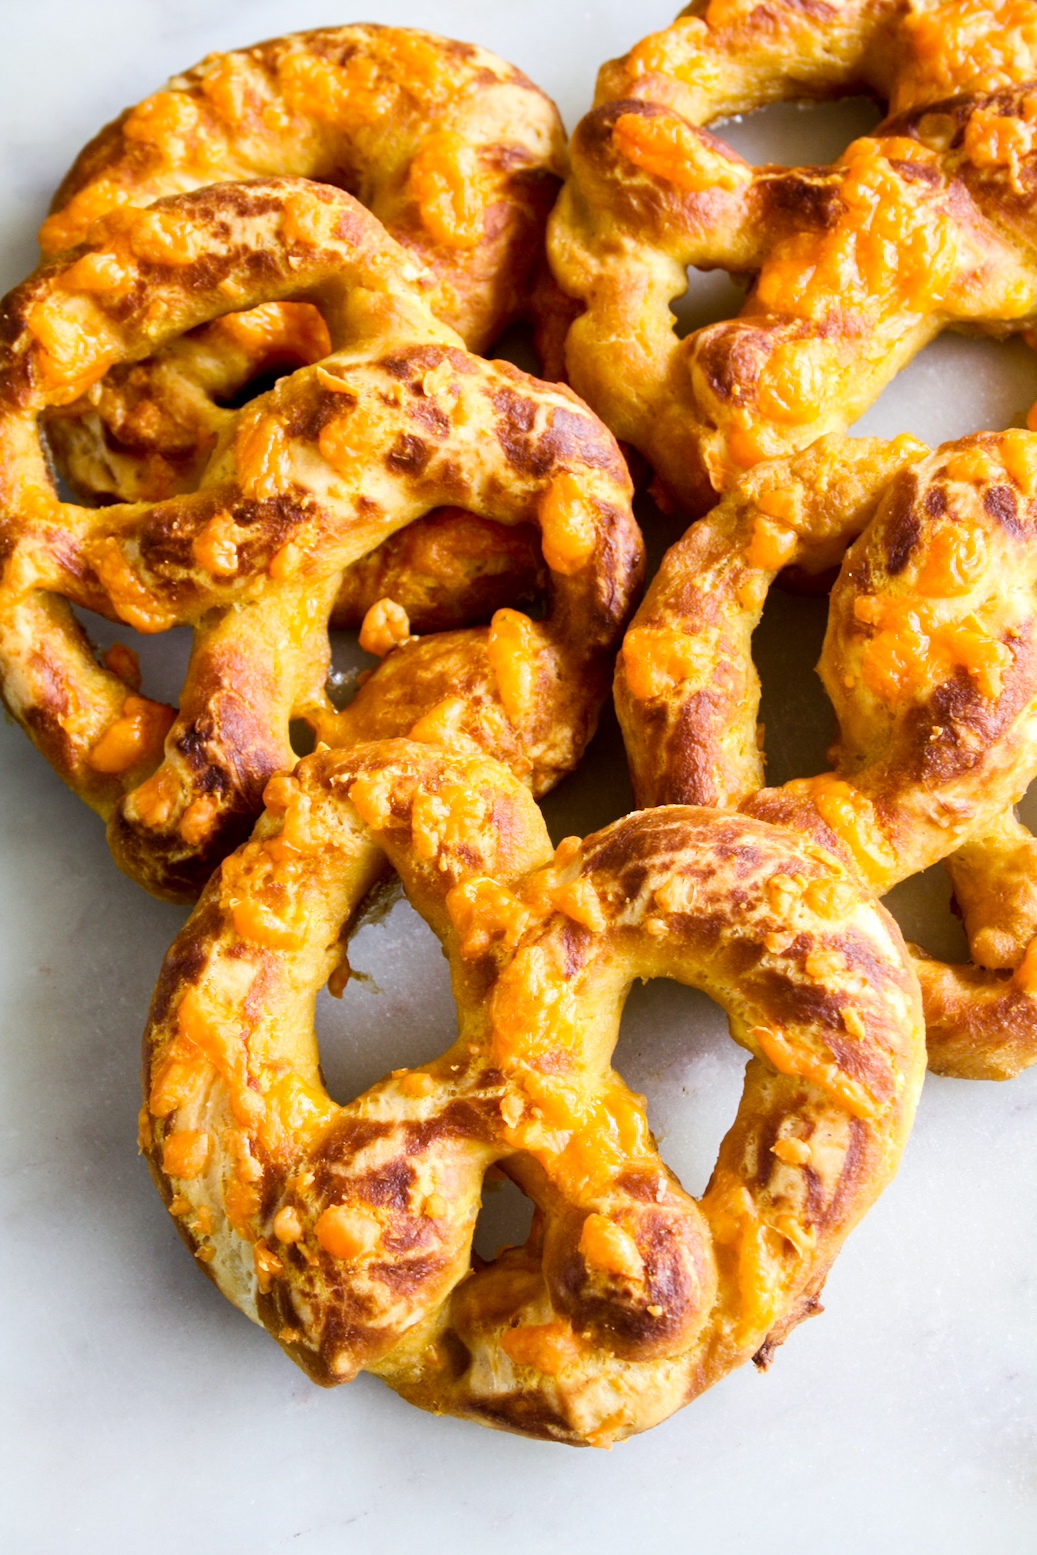
I’ve always found those soft pretzels that you get at the mall quite underwhelming. Either I’ve just had some bad luck or there really isn’t much flavour or fun in them but because the idea of a soft and chewy homemade bread in any form is always great, I decided to give pretzels a shot. With orange cheddar and garlic powder in the dough, these are the perfect savoury snack for any end of year celebrations, especially warm from the oven. And FYI, eating three pretzels and falling asleep at 10 pm on New Year’s Eve totally counts as a celebration.

I find that it’s usually savoury pretzels where the flavour always seems to be lacking, unlike the ones with cinnamon sugar. So with this Sally’s Baking Addiction recipe as a base (I forgot to take photos while shaping the pretzels, but Sally’s recipe has lots plus a useful video), I decided to make cheese pretzels, without scrimping on the actual cheese! I used orange cheddar here although any kind of cheddar or other firm cheese is ok. Adding garlic powder to the dough makes them garlic bready-y and basically amazing. Also feel free to go nuts with more seasonings like oregano and pepper!

Pretzels are not hard to make, and like bagels they need a baking soda bath to get that signature deep golden brown colour on the top. This means that they are a bit time consuming and more so if you’re working with a small space and oven. I found it easiest to work one at a time to shape the pretzels, dip them in the baking soda solution and then place them on the tray. Also remember that rolling the dough out as long as possible before shaping the pretzel is super important. If you roll out short pieces of dough, you’ll land up with chunky pretzels that don’t really have a well-defined shape (been there) and while this doesn’t affect the taste, you might as well take an extra minute to make them look as pretzel-like as possible!


While this dough comes together very quickly and doesn’t need much of a rise time, I found that as I shaped each pretzel, the dough that was sitting out did get extra puffy which meant it was easier for it to lose its shape. So after you dip it in the baking soda bath, use your fingertips to reshape any puffy or uneven bits. Like I said earlier, it’s important to make skinnier pretzels than you’d think, so that there’s plenty of room for the dough to rise in the oven, without them becoming pretzel blobs!

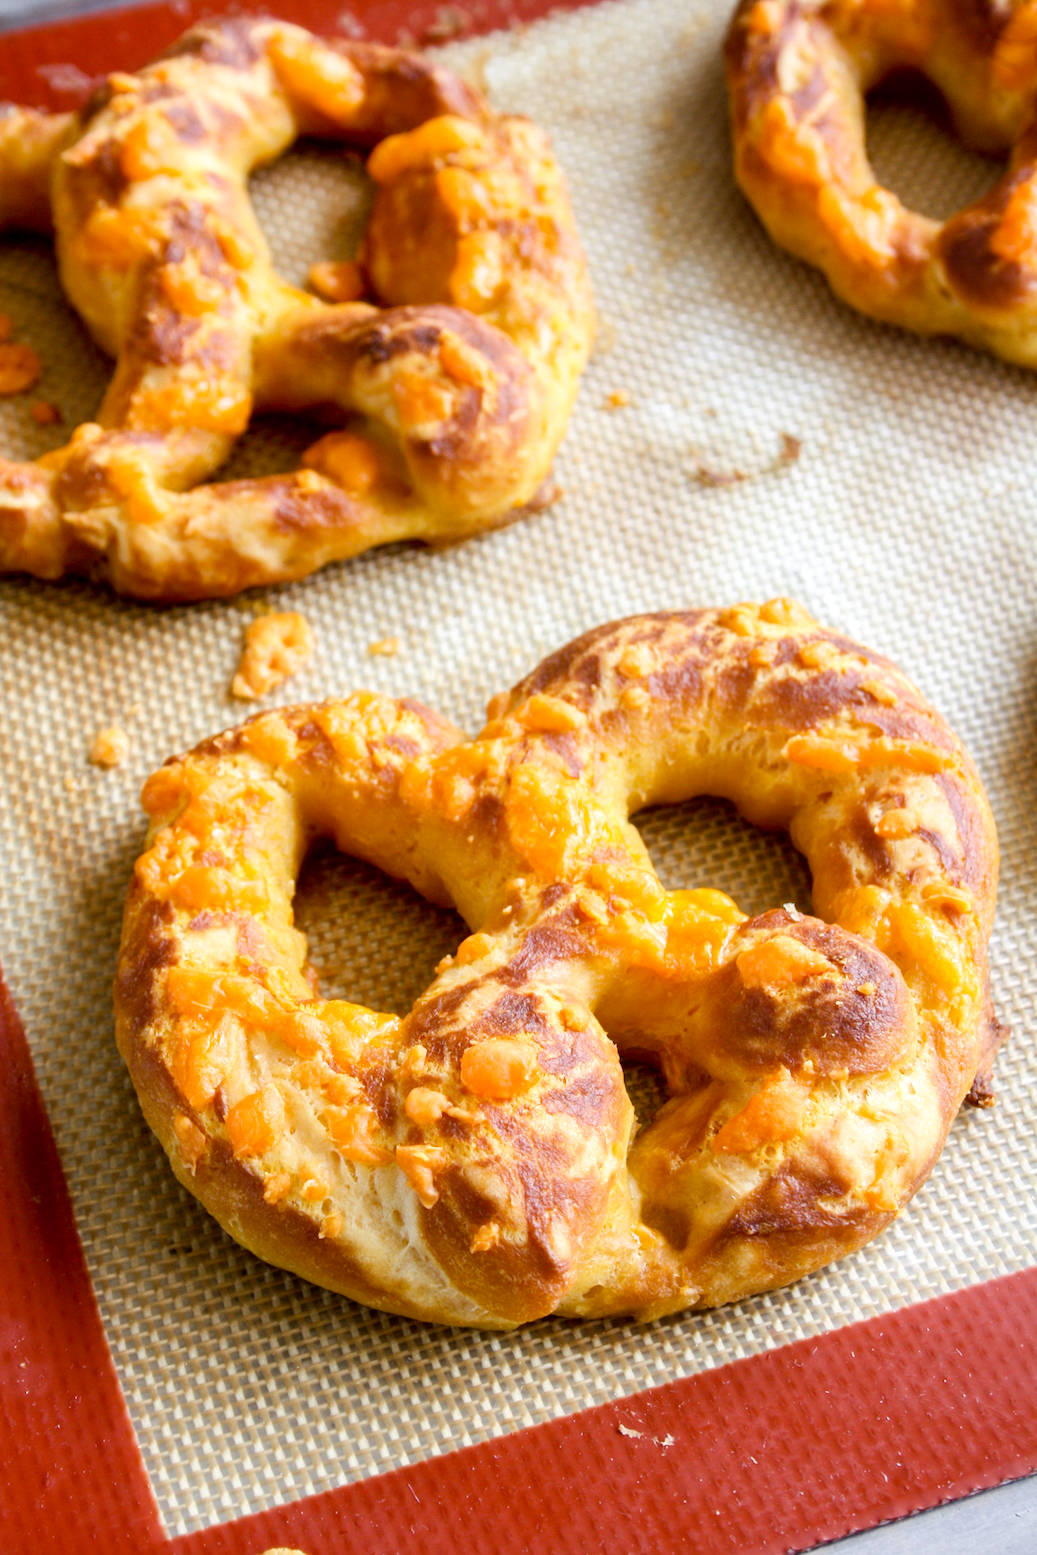
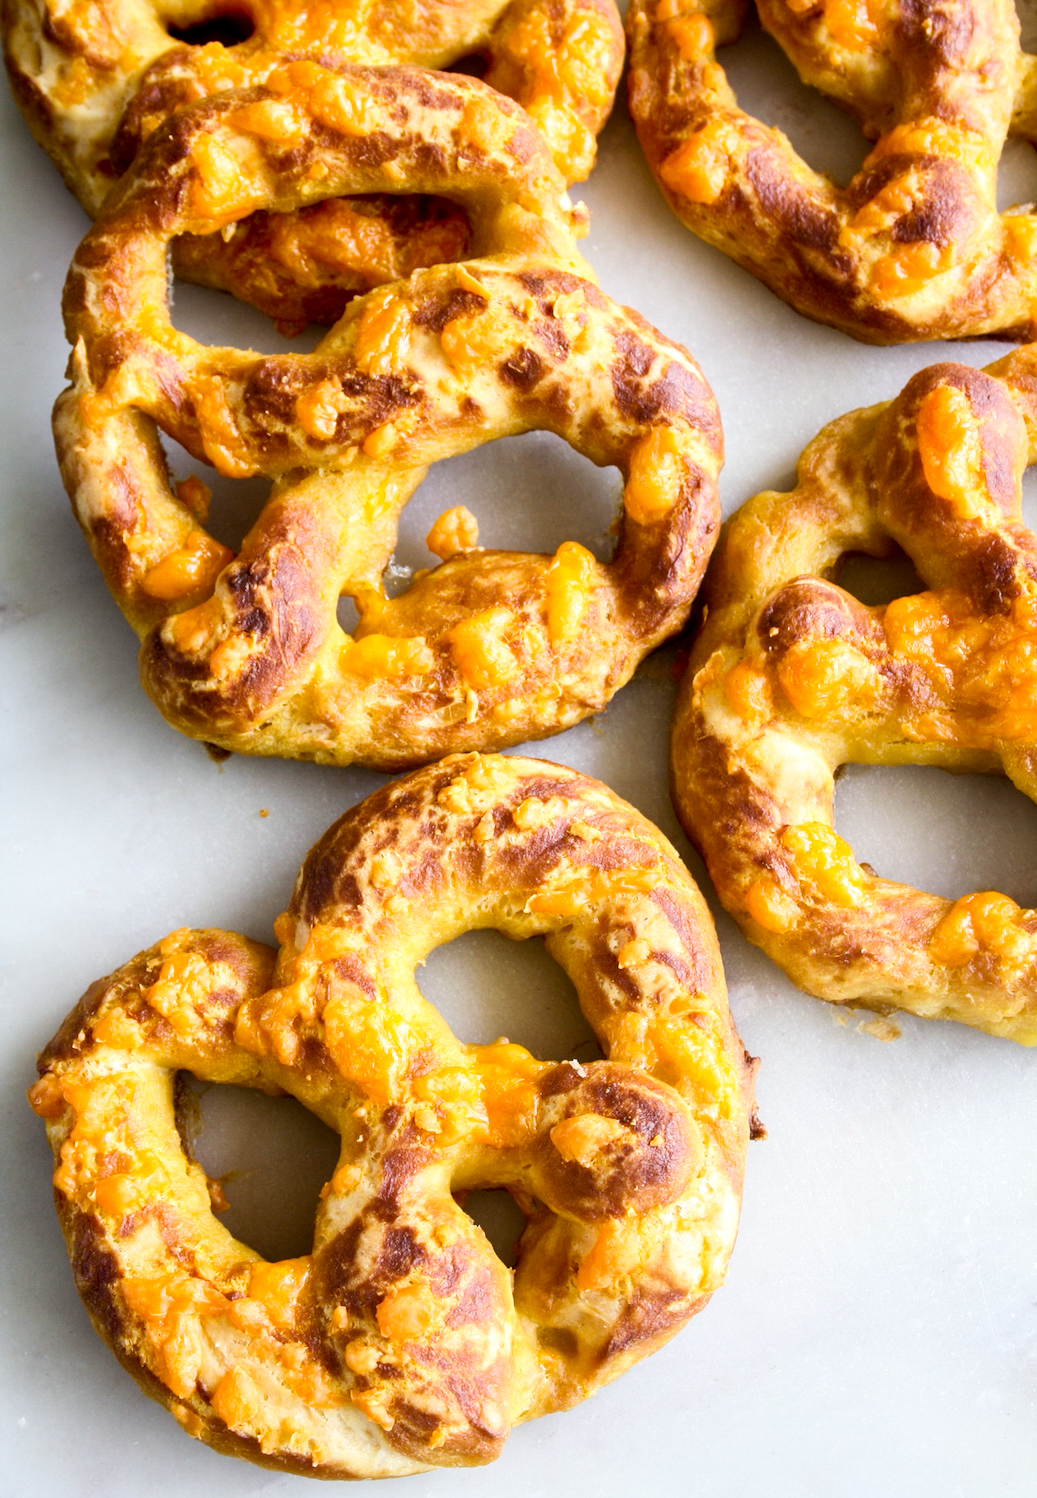
Warm from the oven, they are soft, buttery, cheesy and all of the good stuff. They are fluffy and chewy all at the same time and taste just incredible! Have fun with the flavours and don’t let the shaping stress you out!

Let’s make some cheesy pretzels!
PLEASE READ THE RECIPE NOTES BEFORE BEGINNING.
INGREDIENTS
- 1 and 1/2 cups lukewarm water
- 2 and 1/4 tsps active dry yeast
- 1 tbsp brown or white sugar
- 1 and 1/2 tbsps melted butter
- 1 and 1/2 tsps salt
- 3 and 3/4 cups all-purpose flour
- 1 and 1/2 cups grated orange cheddar
- 1 tsp garlic powder
- Baking soda bath: 8 cups water + 1/3 cup baking soda (see notes)
INSTRUCTIONS
- In a small bowl, combine the warm water, yeast and sugar. Stir and cover with clingfilm and set aside for 5 minutes until frothy.
- In the meantime, combine the butter, salt, flour, 1 cup cheddar (reserve the remaining 1/2 cup) and garlic powder in the bowl of a stand mixer fitted with the dough hook (or use a large mixing bowl if doing this by hand).
- Give this all a quick stir to disperse the cheese, then pour in the yeast mixture. Let the mixer run on medium speed until the dough begins to leave the sides of the bowl and is no longer sticky. When you poke it, it should slowly bounce back. This takes about 3 to 4 minutes (by hand as well).
- Take the dough out of the bowl, knead it lightly by hand to make it completely smooth, then form into a ball, place it back in the bowl and let it rest for 10 to 15 minutes, covered.
- In the meantime, bring the water and baking soda to a boil in a sturdy pot. Line two baking sheets with non stick baking paper or line them with silicone baking mats. Preheat the oven to 200 C.
- Take the dough out of the bowl (I like to place it on the piece of clingfilm I cover the bowl with), pat it into a rough rectangle and cut into 12 equal pieces (see notes).
- Work with one piece at a time. Roll it out into a long rope about 20 inches long. It will seem a little difficult but use your palms and fingers to get it as long and thin as possible so that you end up with the neatest pretzel. Bring the ends of the rope together and twist (see photo below), then lift and bring them down to the base of the pretzel, pressing lightly to help them stick.
- Gently lift and drop the shaped pretzel into the boiling baking soda bath. It will float towards the surface in a few seconds. Let it soak for 10 to 20 seconds at the most, then lift out using a slotted spoon, draining as much water as you can. Place onto the prepared baking tray.
- Repeat with the remaining dough. You can also shape all the pretzels first and then dip them one by one in the bath, whichever is easier. Keep in mind that you'll need to work quickly either way, because because as the dough sits, it does get puffier so the chances of the pretzels losing their shape is higher. Once you're done with the baking soda bath, use your fingertips to reshape any puffy or uneven bits. Remember to leave at least two inches between each pretzel. I could fit four at a time on my baking trays.
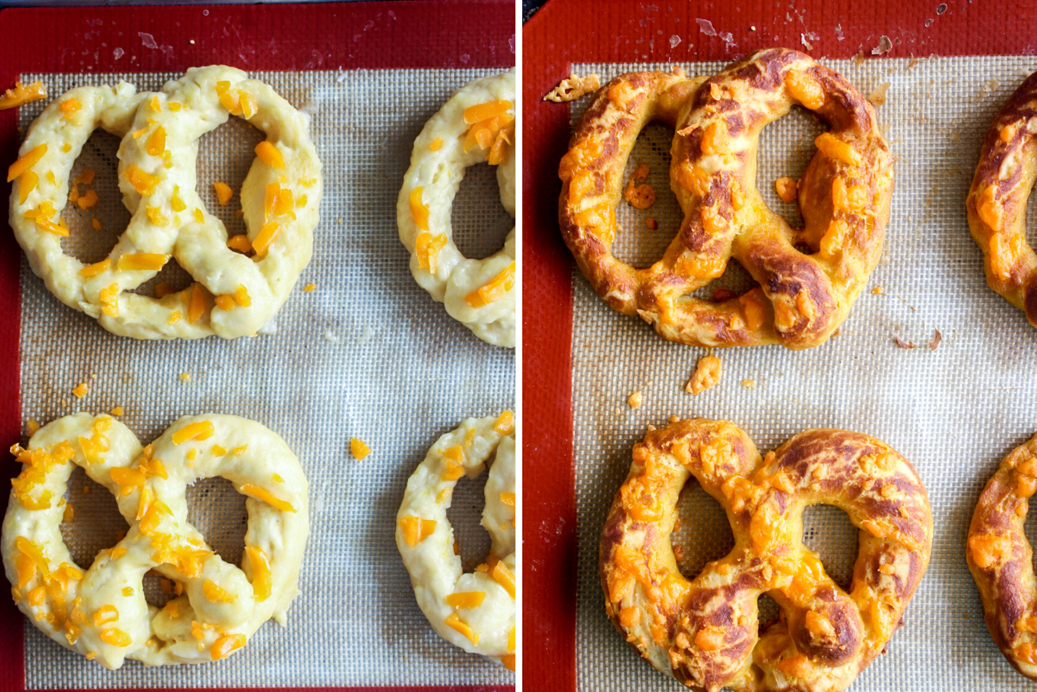
- Sprinkle the remaining cheese over each pretzel. Bake for 20 minutes or until browned on top. They will puff up further as they bake.
- Best eaten fresh and warm, but if you're eating them later, cool completely on a wire rack, then store in an airtight tin for 2 to 3 days, and in the fridge or freezer for longer. Happy baking and a very happy new year!
